

I’ve got a big ‘ol review for you today, this one has been a few weeks in the making actually, and from my time with this product I’ve found it to be easily one of the best VGA coolers on the market today.
Up on the block today is the GFXChilla VGA Cooler from Coolink and I’ve tested it with my ATI X1800GTO video card and with my two Nvidia 8600GTS video cards as well. I’ve got comparison results with the GFXChilla going up against names like Thermalright, Arctic Cooling, Aerocool and of course the stock coolers. One thing cool (pun intended) about the GFXChilla is that it is small and able to be used with my Nvidia cards in SLI. From my testing I’ve found that the GFXChiila is virtually silent and performs extremely well, especially if you consider just how small it is.
In my testing up against the massive Arctic Cooling Accelero, the GFXChilla is only a couple degrees warmer than the Accelero. The GFXChilla only adds a tiny bit of width to your card due to the heatpipes sticking out and like most does take up the PCI spot below, but it adds no more length to your card and virtually no noise to your system. If you look at the Arctic Cooling Accelero, sure the performance is great, but it is almost doubles the size of your video card, with the fan Turbo Module attached it takes up two PCI slots, and with the Accelero installed it’s a very tight fit in many cases and won’t even fit in some.
The Coolink GFXChilla offers a great combination of performance, minimalist size and silence, the GFXChilla goes to show that your VGA cooler does not have to be massive to provide good, quiet cooling for your videocard.
So continue on to check out all the pictures and testing results from both ATI and Nvida cards I’ve got on hand…
Coolink GFXChilla VGA Cooler
Author: Kristofer Brozio
Sponsor: Coolink
Tech Specs,Features or the Basic Info:
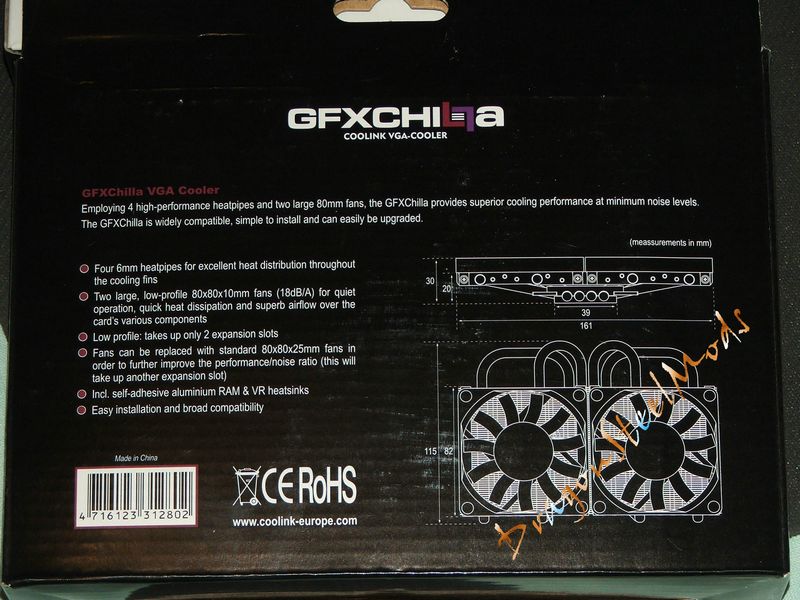
Employing 4 high-performance heatpipes and two large 80mm fans, the GFXChilla provides superior cooling performance at minimum noise levels. The GFXChilla is widely compatible, simple to install and can easily be upgraded.
Features:
* Four 6mm heatpipes for excellent heat distribution throughout the cooling fins
* Two large, low-profile 80x80x10mm fans (18dB) for quiet operation, quick heat dissipation and superb airflow over the card’s various components
* Low profile: takes up only 2 expansion slots
* Fans can be replaced with standard 80x80x25mm fans in order to further improve the performance/noise ratio (this will take up another expansion slot)
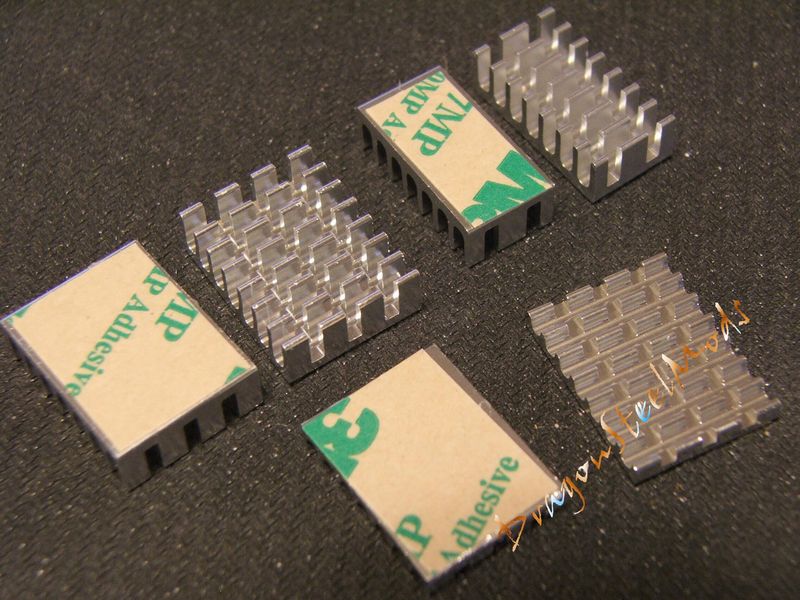
* Incl. self-adhesive aluminum RAM & VR heatsinks
* Easy installation and broad compatibility
Specs:
Height (without fan): 20mm (.79")
Width (without fan): 161mm (6.34")
Depth (without fan): 115mm (4.53")
Height (with fan): 30mm (1.18")
Width (with fan): 161mm (6.34")
Depth (with fan): 115mm (4.53")
Weight: 330g (11.64oz)
Material: Copper (base and heat-pipes), aluminum (cooling fins)
Compatibility: See compatibility list Below*
Fan: 2x 80x80x10mm
Rotational Speed (+/- 10%): 2000rpm
Acoustical Noise: 18dB(A)
Connector: 1x 3-pin Molex (12V)
Scope of Delivery:
-RAM- & VR-heatsinks
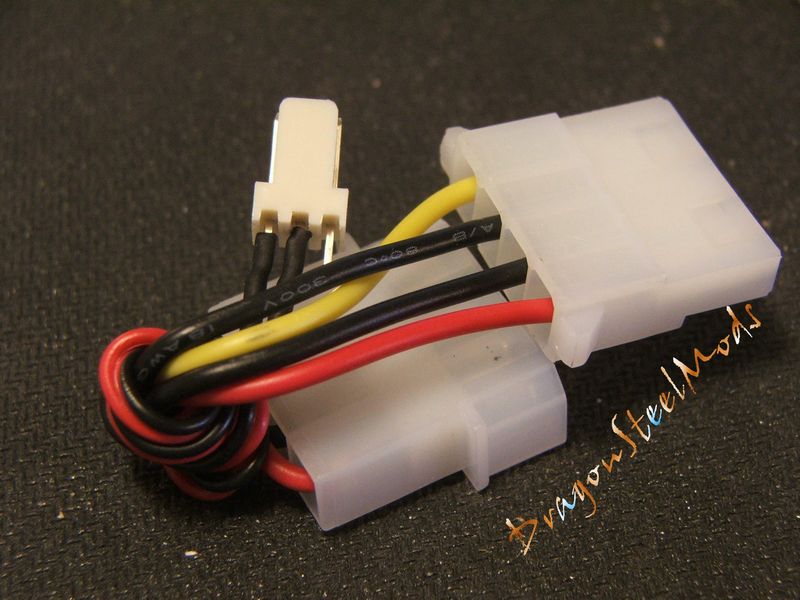
-3:4-pin Adapter
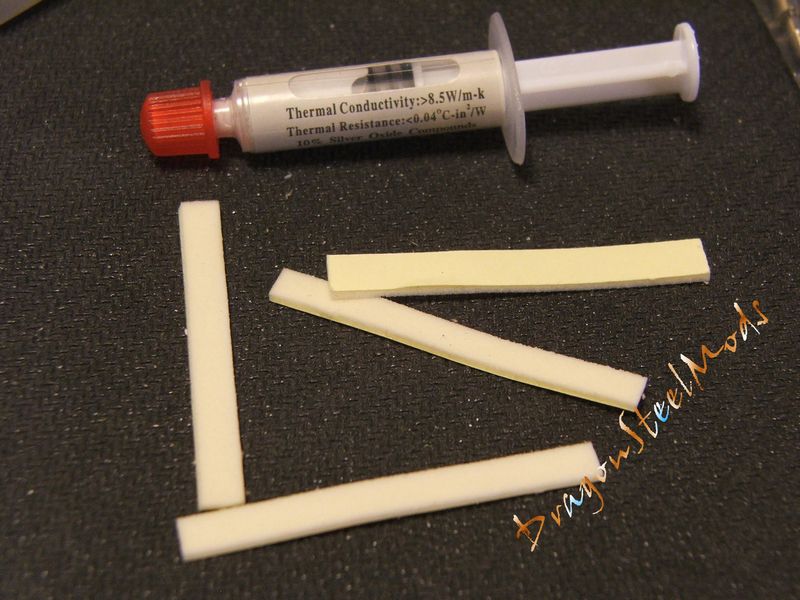
-Thermal Paste
-Installation Manual
Warranty: 3 Years
MSRP: 29,90 (US $46.00 approx)
Compatibility Chart:

A Better Look at Things
:
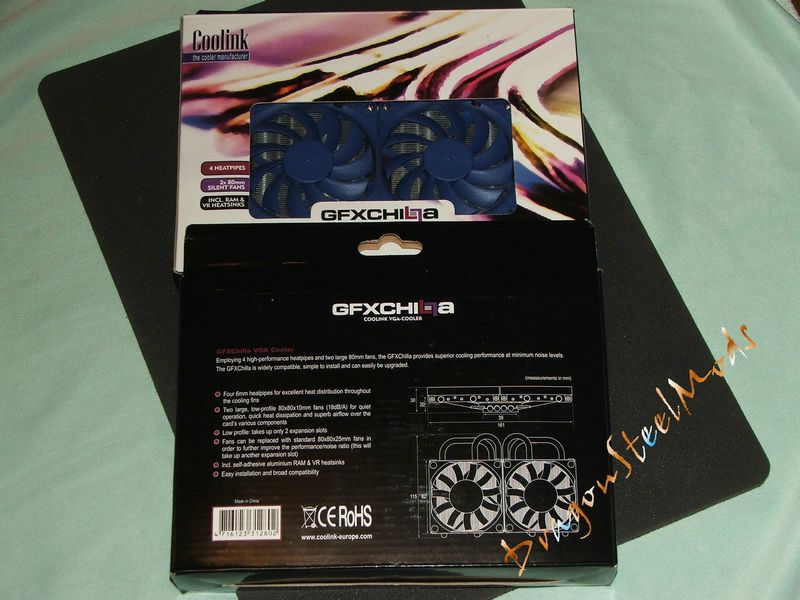
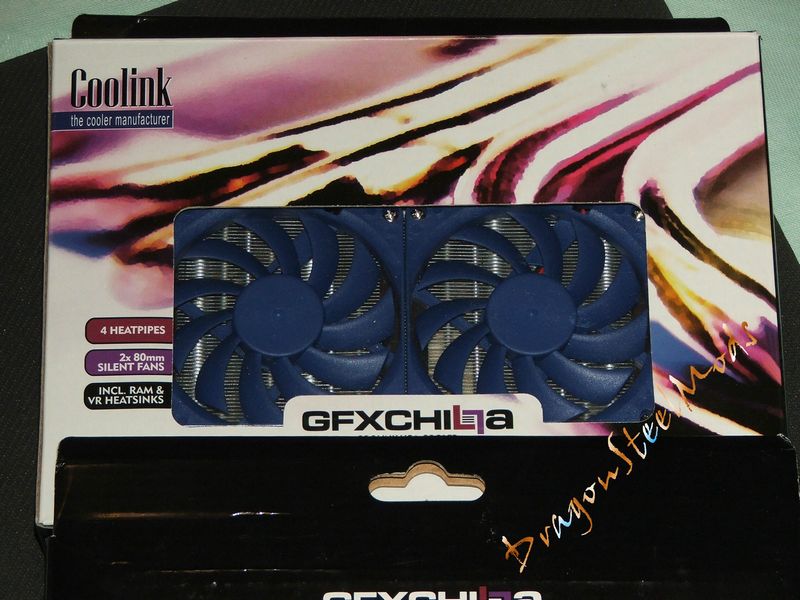
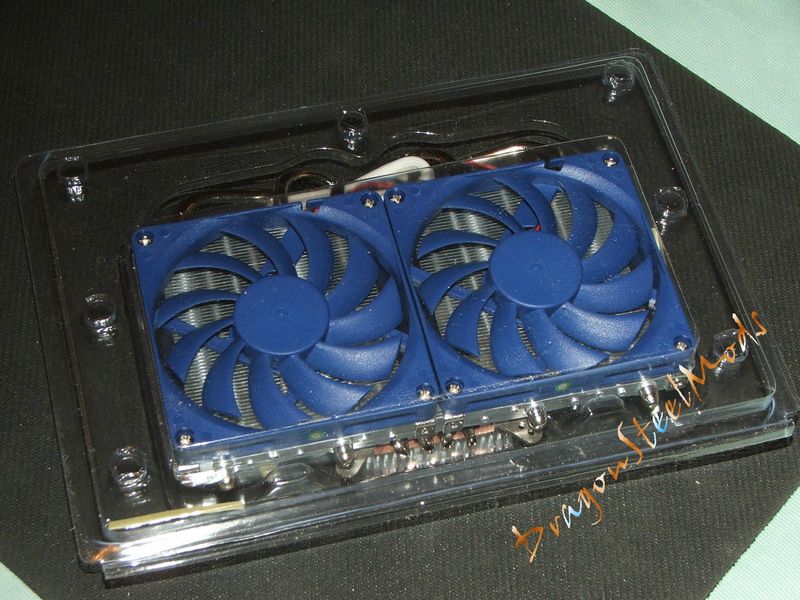
The packaging for the Coolink GFXChilla is interesting looking, it took me a second to figure out the background picture is a fuzzy closeup of heatpipes. On the front of the box is a small window where you can see the blue fans of the GFXChilla, while the back has specs and features listed.
Opening the box we find another plastic box that protects everything inside during transit and the instruction manual off to the side.
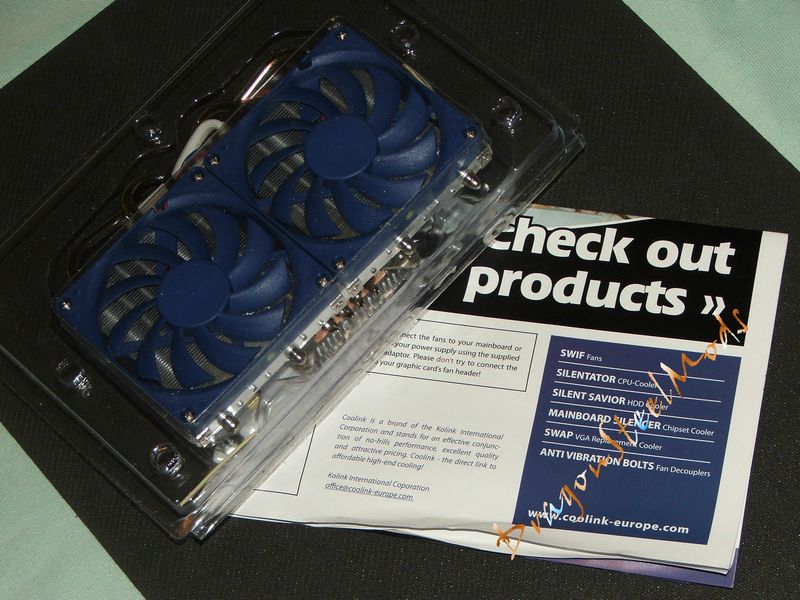
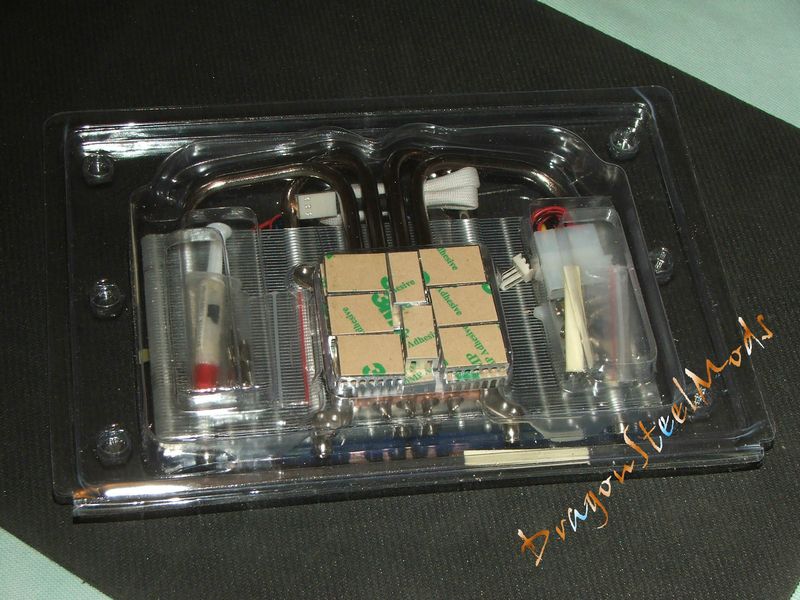
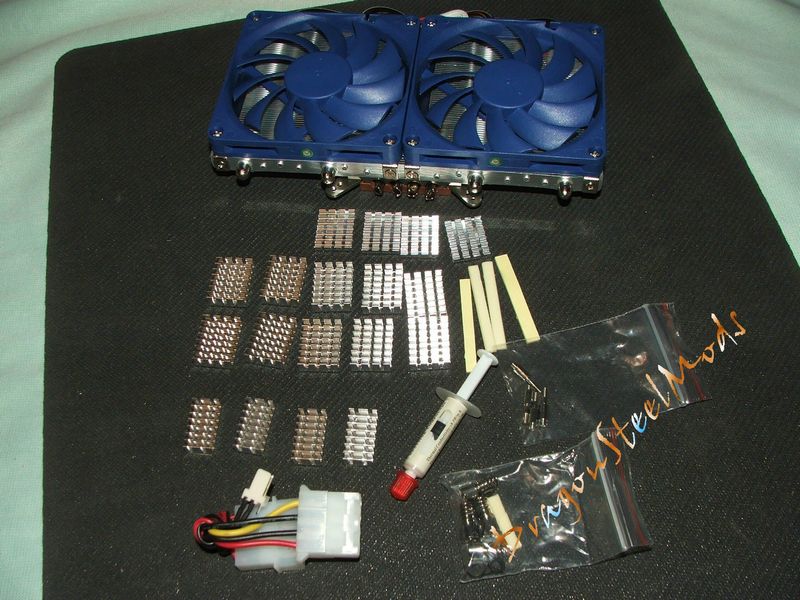
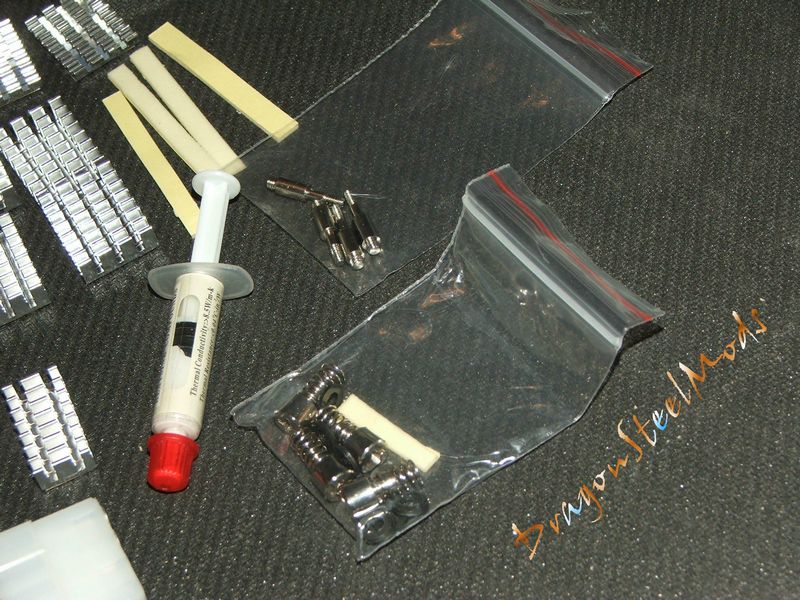
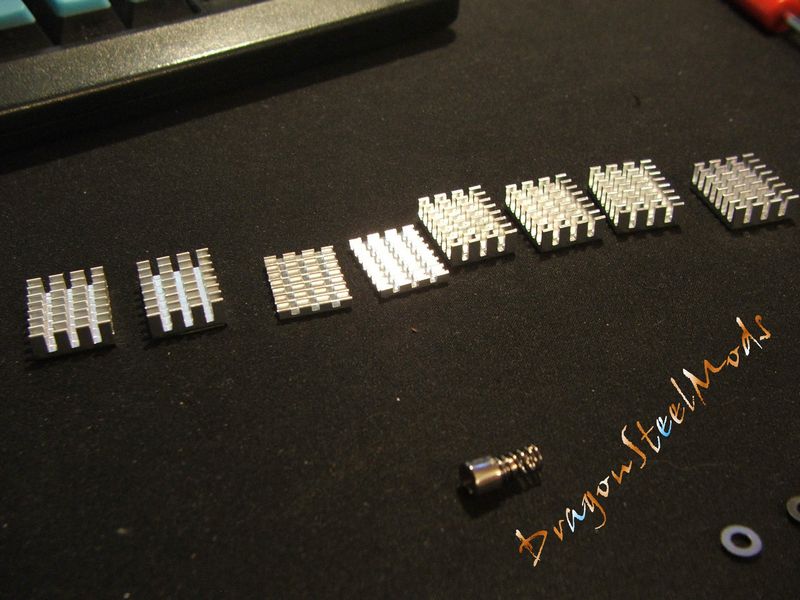
Opening that plastic box we find all kinds of parts and accessories including 18 ram sinks, GPU pads, thermal compound, mounting hardware and a 3-pin molex adapter.
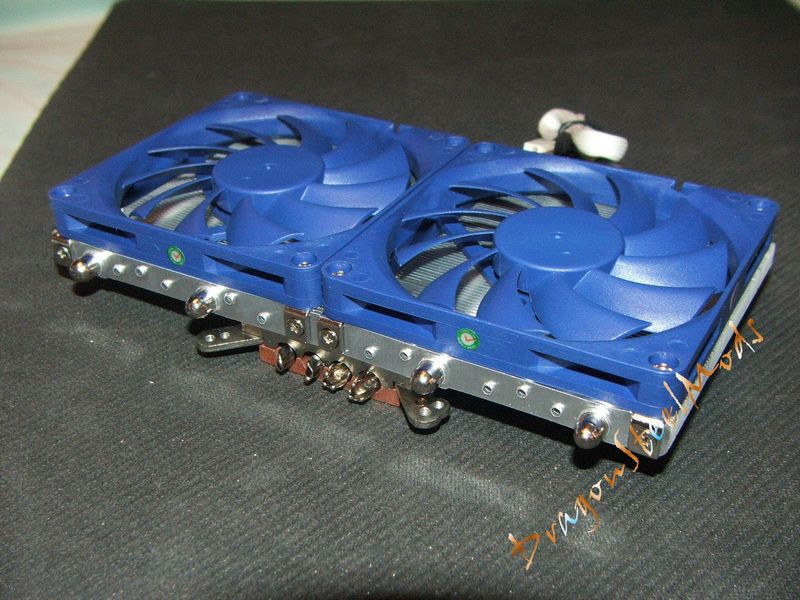
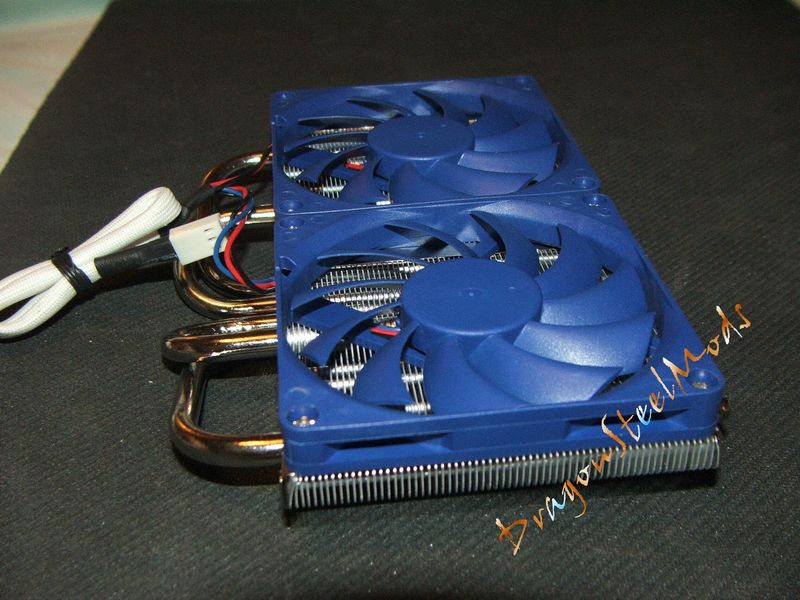
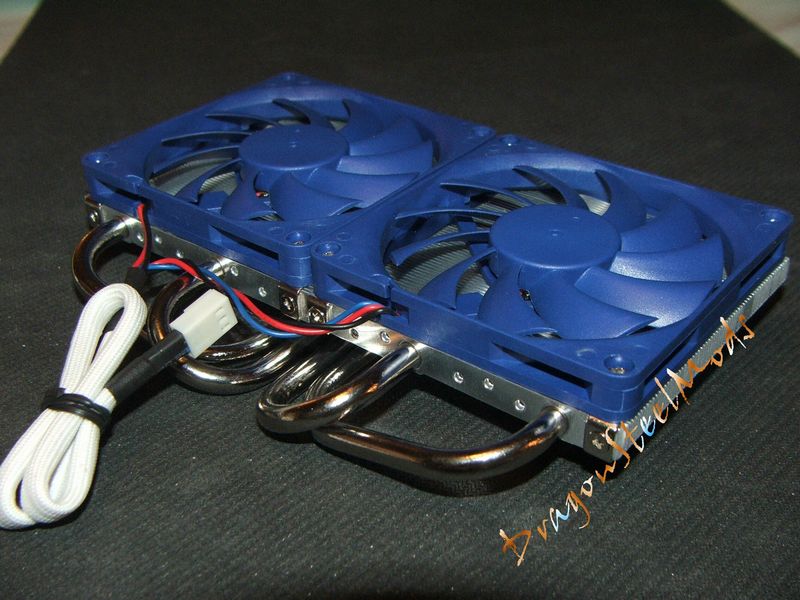
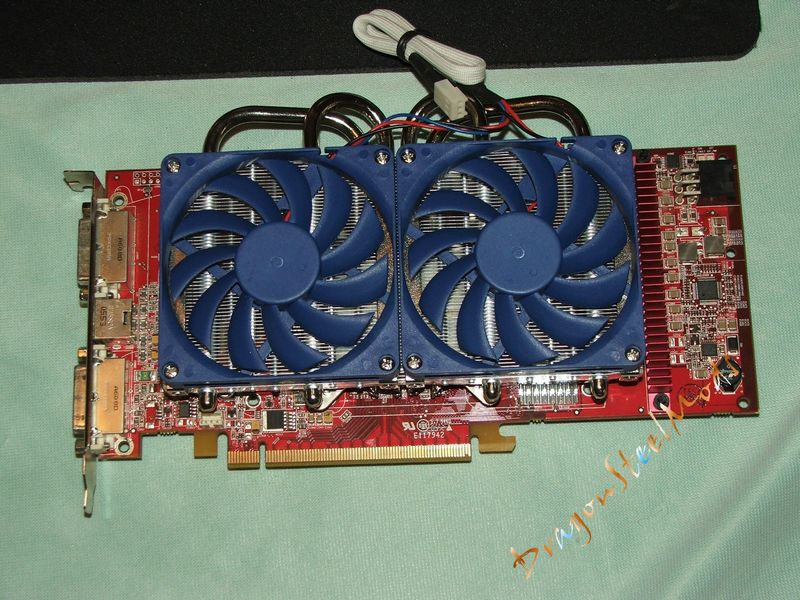
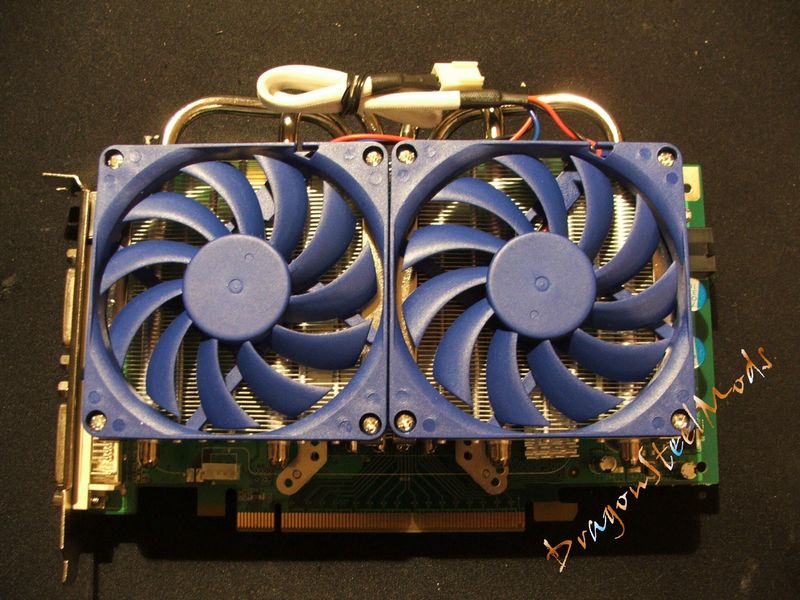
The GFXChilla features two bright blue colored, thin profile 80mm fans, these fans can be swapped out for standard sized 80mm fans if preferred but that will make the GFXChilla larger and take up another PCI slot.
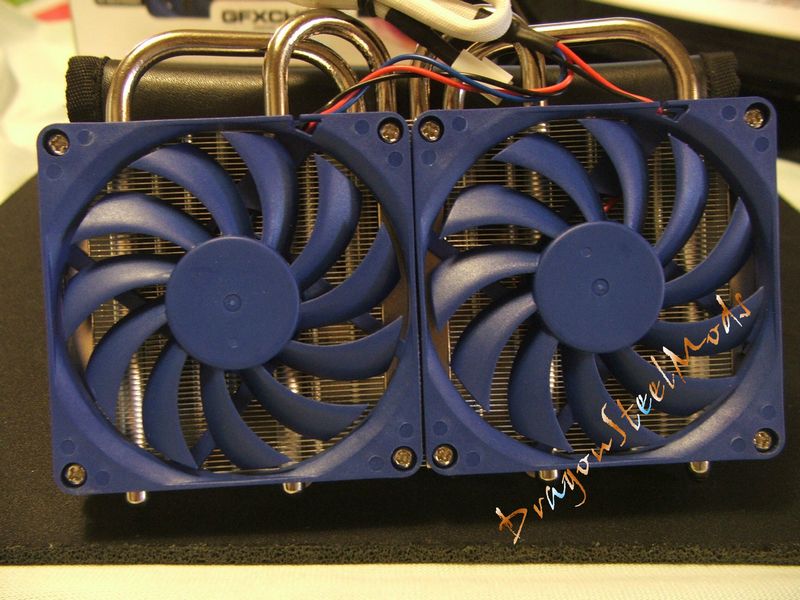
I personally like the blue colored fans, it’s a nice change from the common black or clear fans you see all the time, and I think the blue and silver color scheme looks very good. The fans are chained together to give you just one 3-pin power connection to power up both fans, this is a nice idea, but should one of the fans die you’ll still have to replace both. The wires are partially sleeved as well making for a nice clean appearance.
A Better Look at Things
Continued:
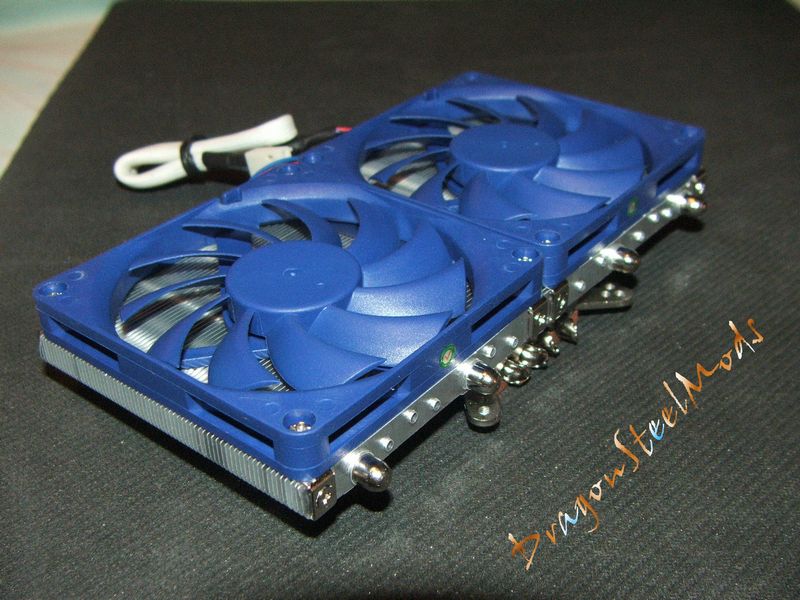
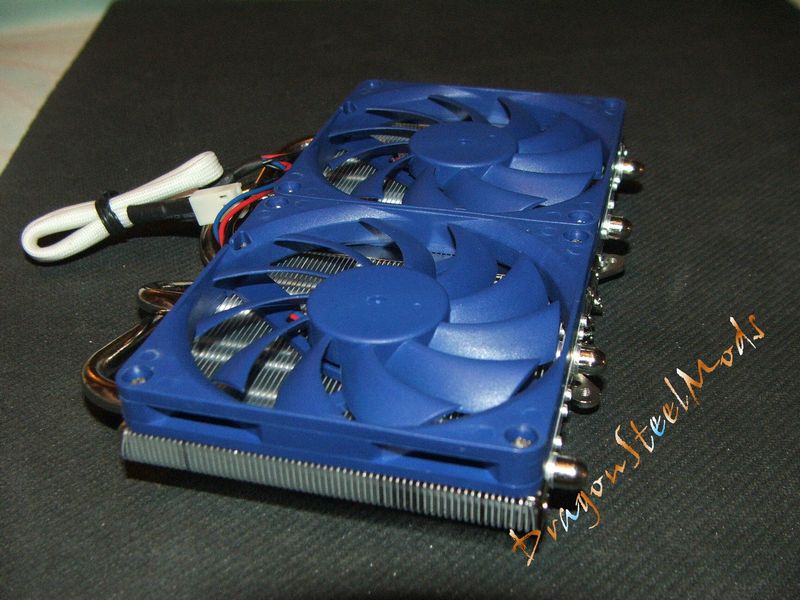
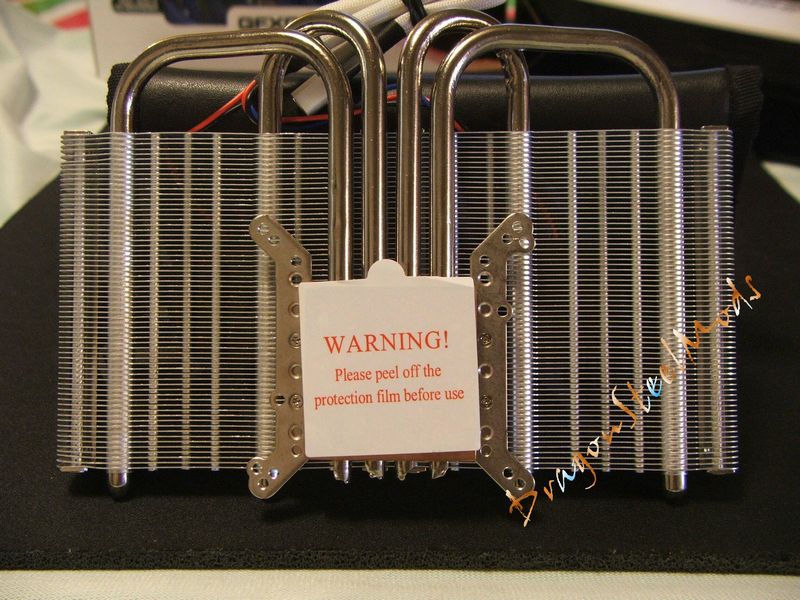
Being the GFXChilla is such a small cooler, the fins are packed very tightly and there’s a lot of them, 66 that I counted actually. One observation about having the fins so close together is their ability to quickly get clogged with dust depending on the environment where they are being used, other than that the GFXChilla as a whole seems to be a very well made and designed product.
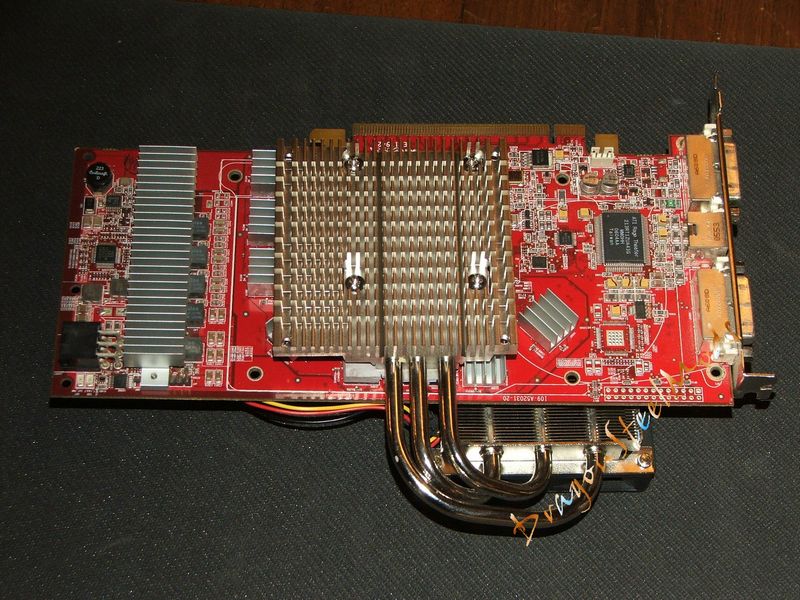
Just as I showed you various views from the top here are essentially the same views looking at the bottom of the GFXChilla, or it could be the top, I guess depending on how you look at it…
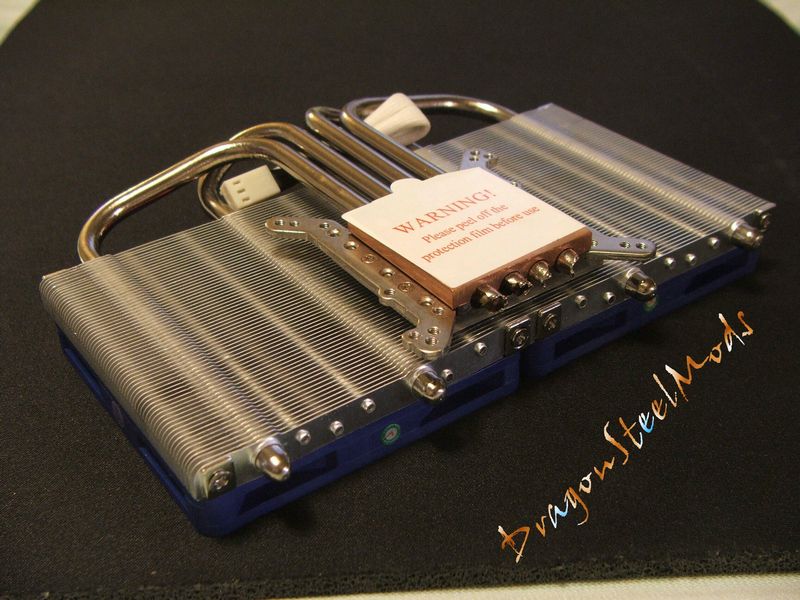
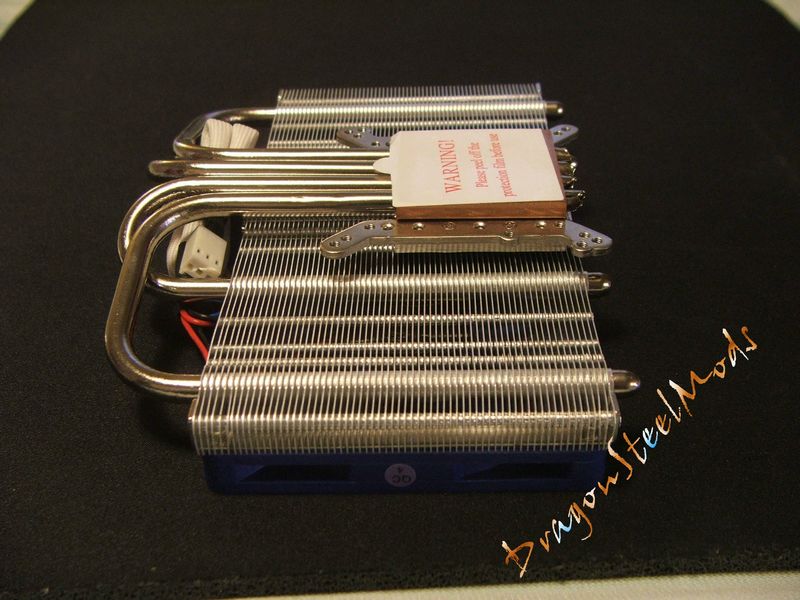
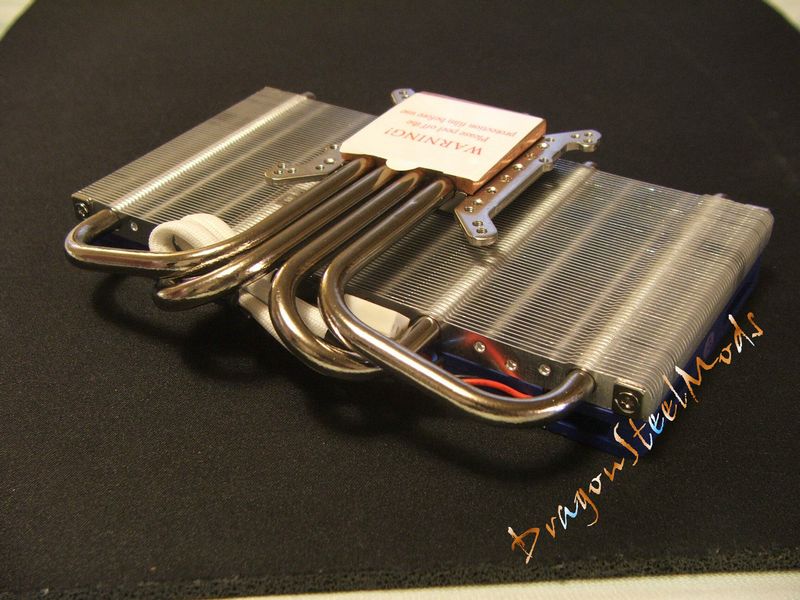
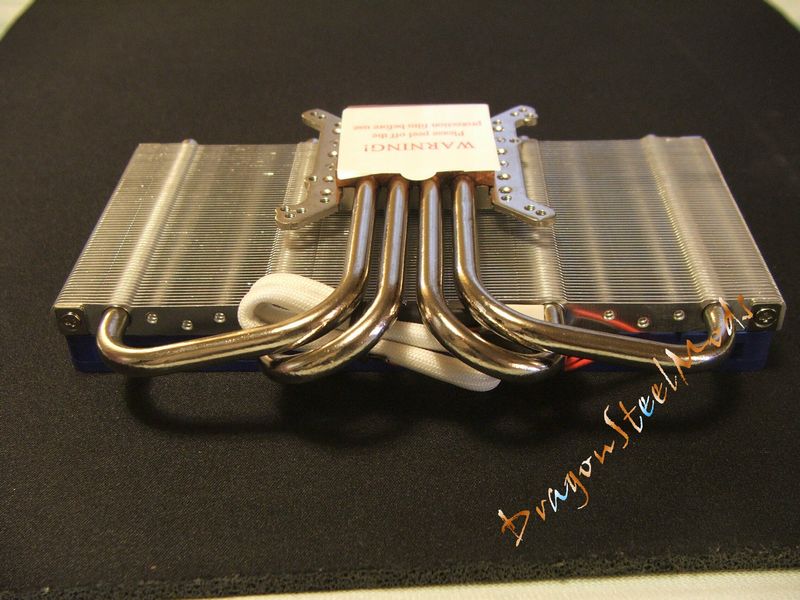
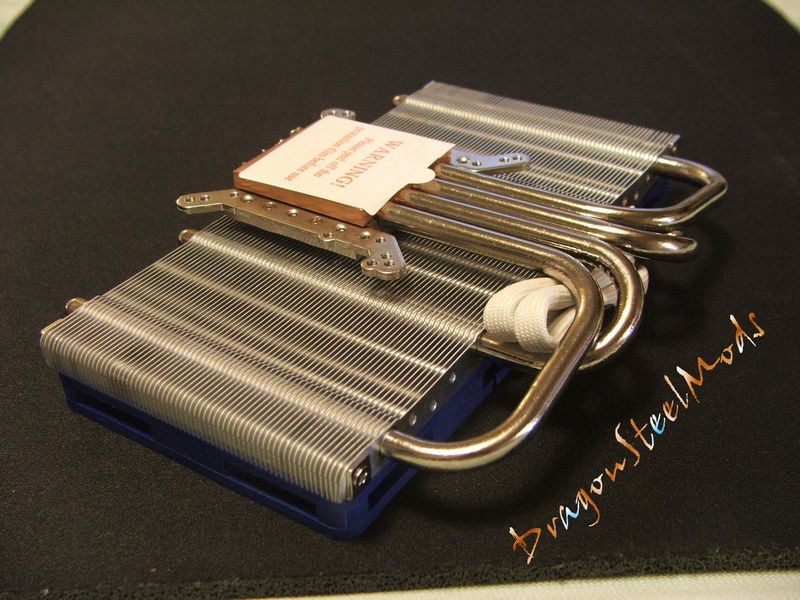
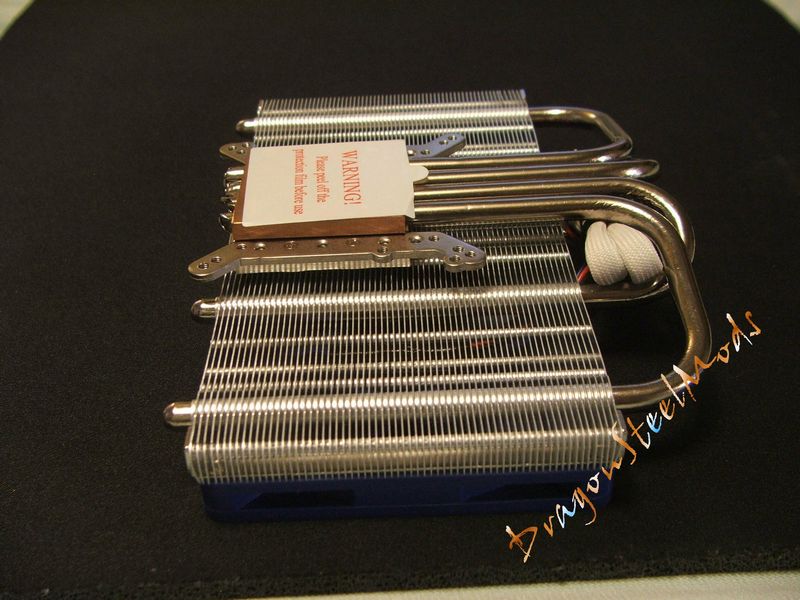
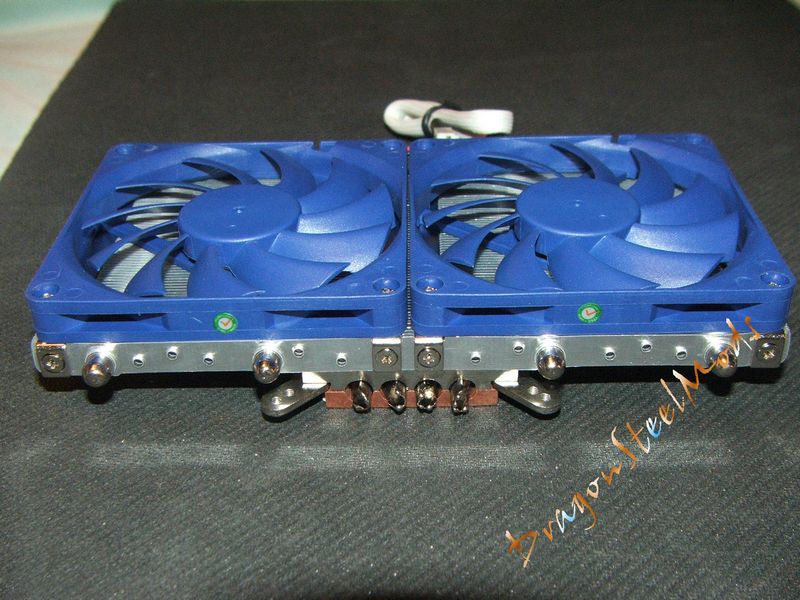
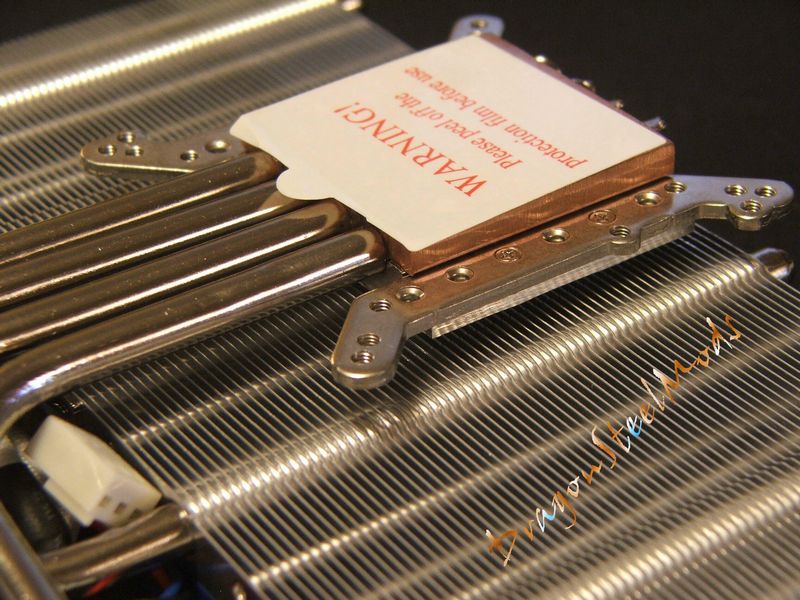
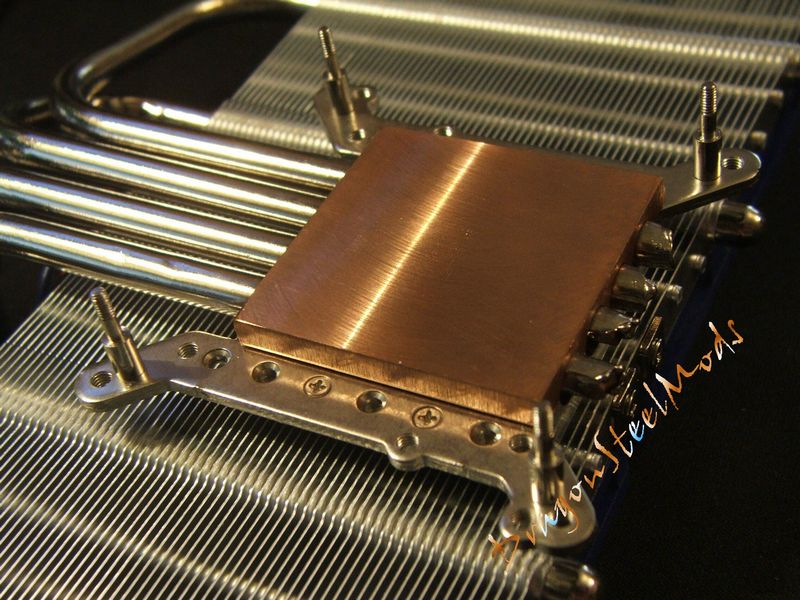
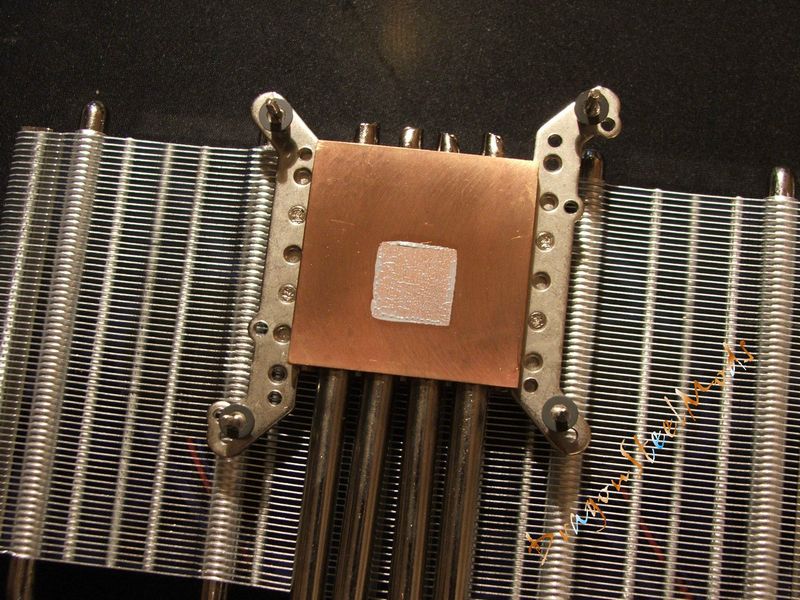
The base of the GFXChilla comes with the mounting brackets pre-installed, there are two screws on each side that allow you to adjust the brackets depending on the card you are installing the GFXChilla on. Of course it comes with the standard protective sticker over the actual base of the heatsink. You can see heatpipes are sandwiched beneath the copper base and the aluminum mounting system.
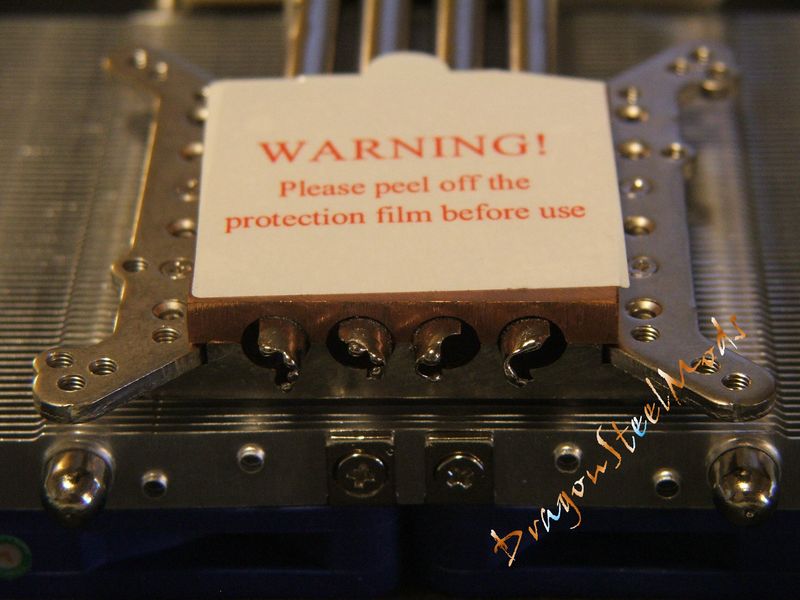
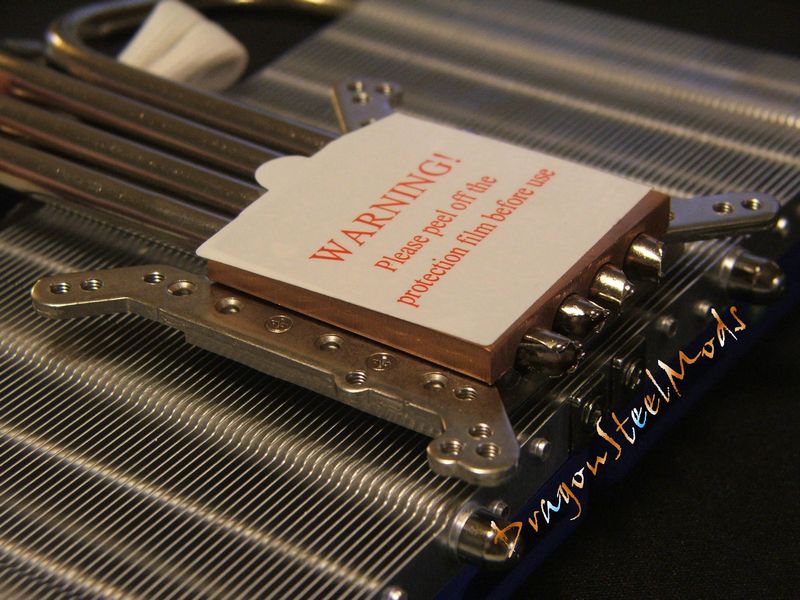
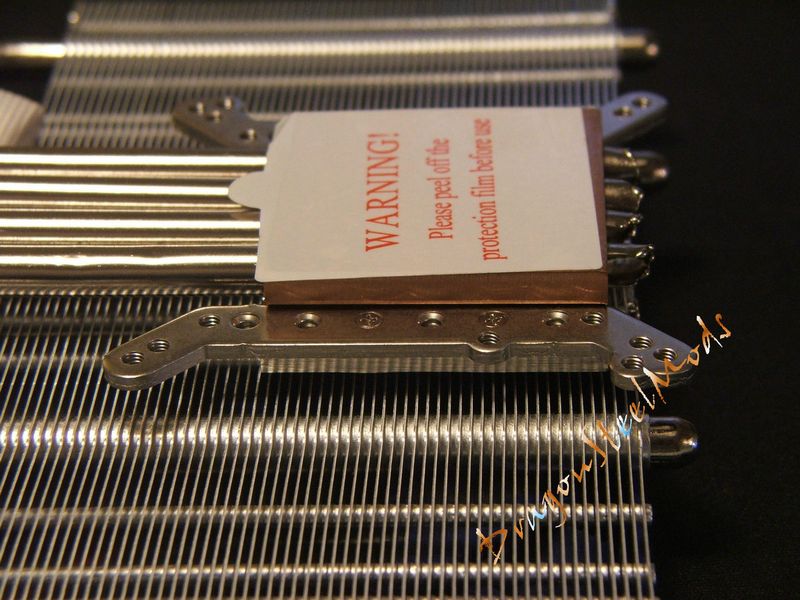
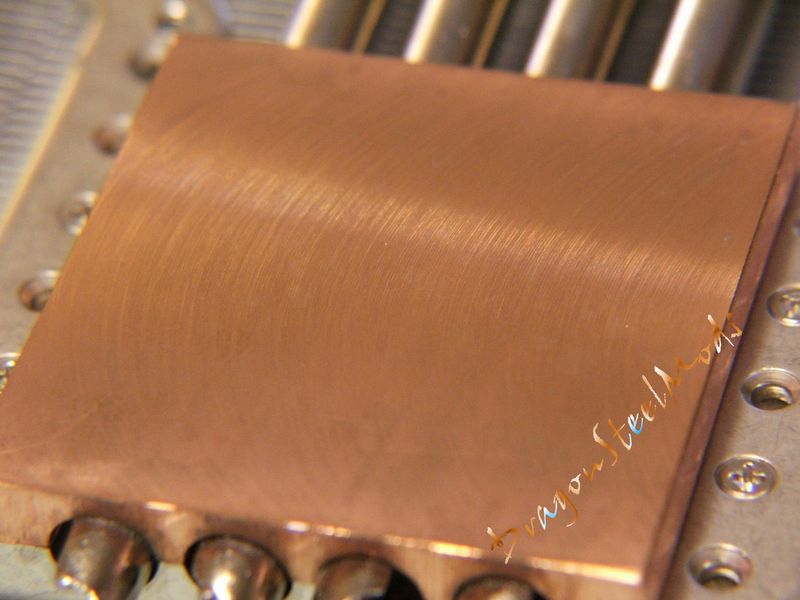
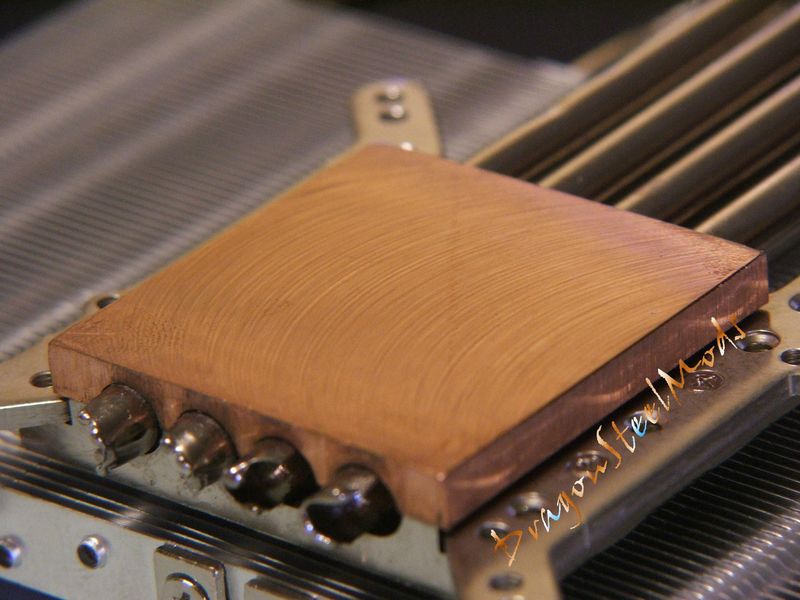
The base appears to be flat, but machining lines are clearly visible, one could lap the base and maybe eek out of couple more degrees, but for me the temps I got were fine with the base as it is.
Installation, Testing and Comparison -ATI:
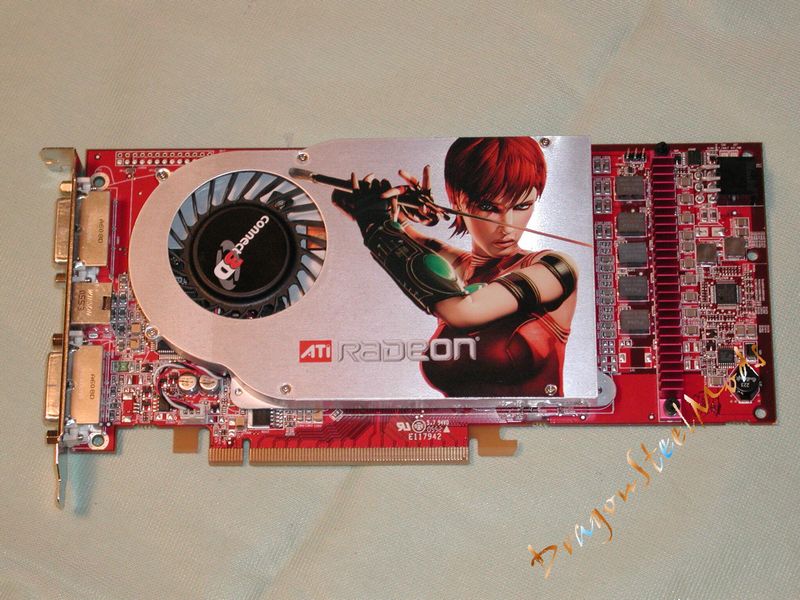
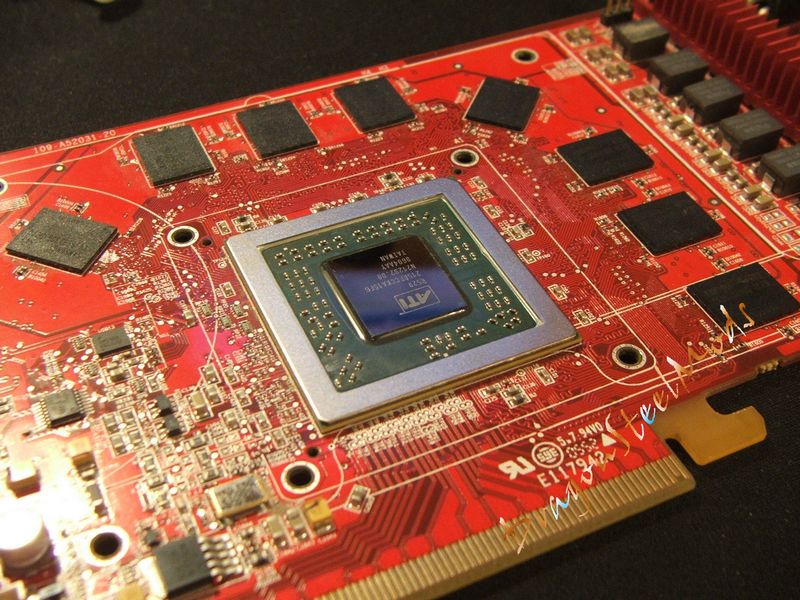
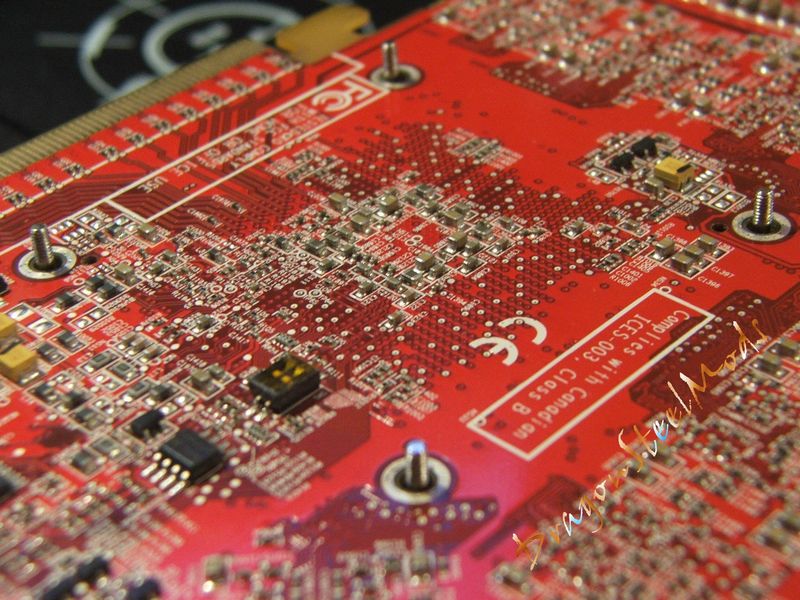
The Connect3d X1800GTO Video card is a large card and it runs rather hot and very loud when under load, so pretty much any after market VGA cooler is a better choice than the stock cooler.
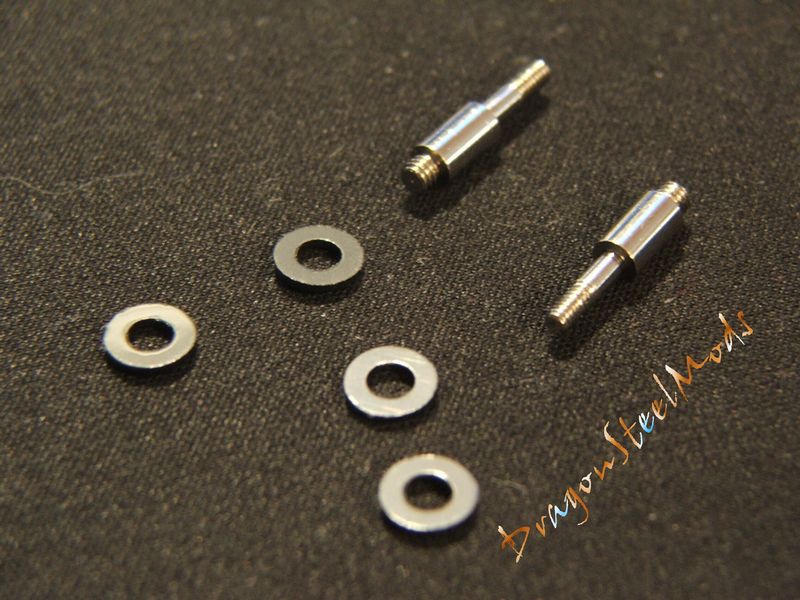
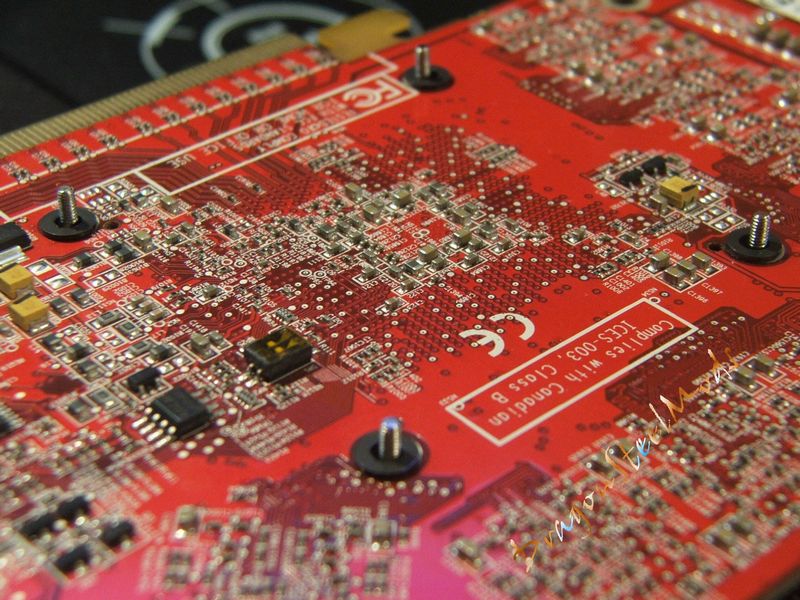
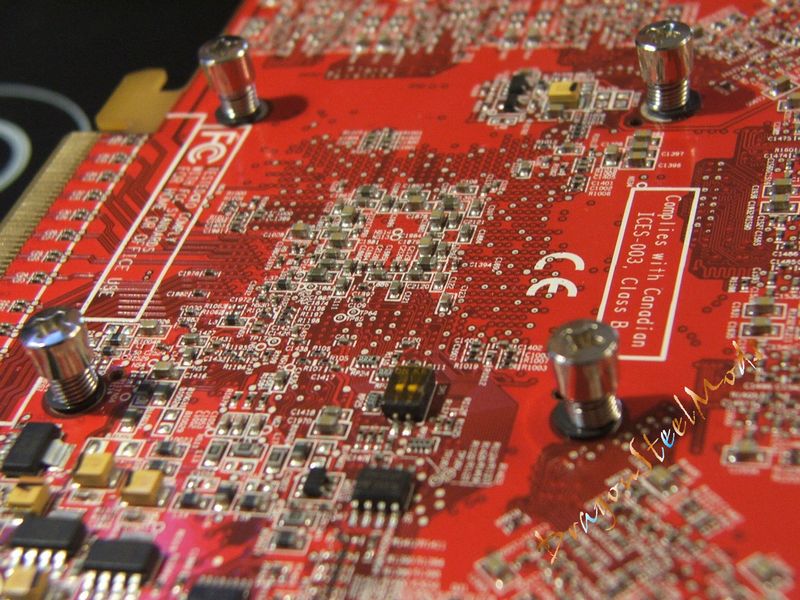
For the X1800 installation I did not have to do much with the GFXChilla, meaning that I did not have to adjust the mounting brackets to fit my card as they worked fine the way they arrived. You’ll need to figure out which holes you’ll be using and attached the double threaded posts to the mounting brackets, easy to do just screw them in place.
Once you figure that out you’ll need to install the ram sinks, with the cooler in place temporarily you can see which style you’ll need to use, I have to use two of the low profile ram sinks as the heatpipes come very close to two ram chips.

Next you’ll apply the thermal compound and mount the GFXChilla using four washers and four spring loaded screws, very easy here as well.
Here it is installed in my system, no clearance issues at all except of course for the lost PCI slot.
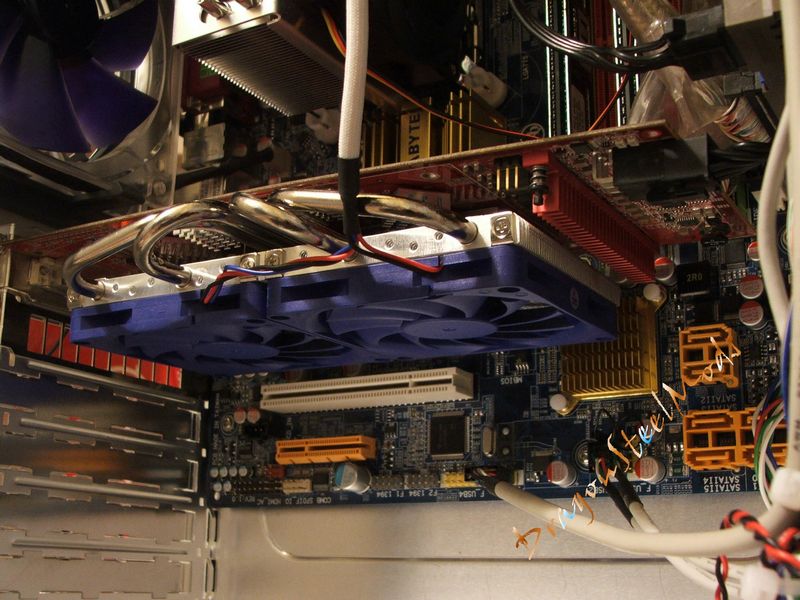
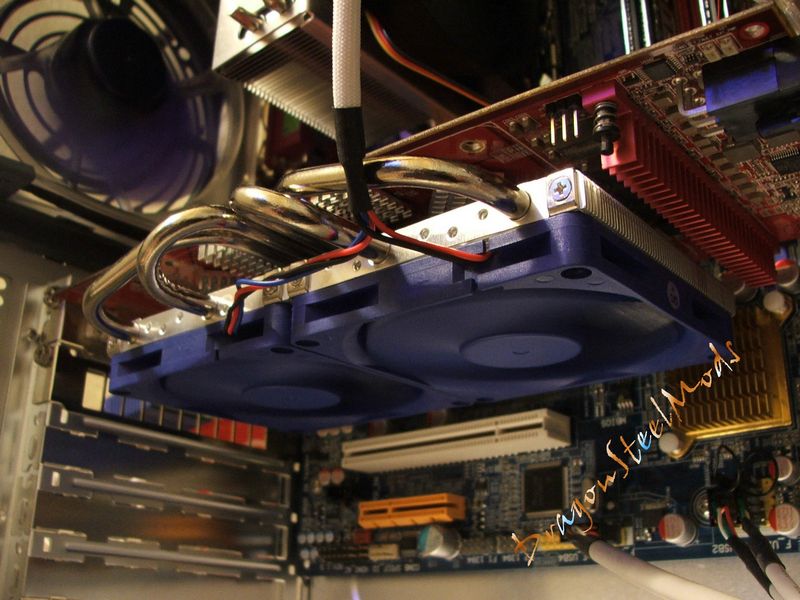
Before we get to the testing and results of said testing, here are several pictures of the GFXChilla installed on my card and the other coolers installed for comparison:
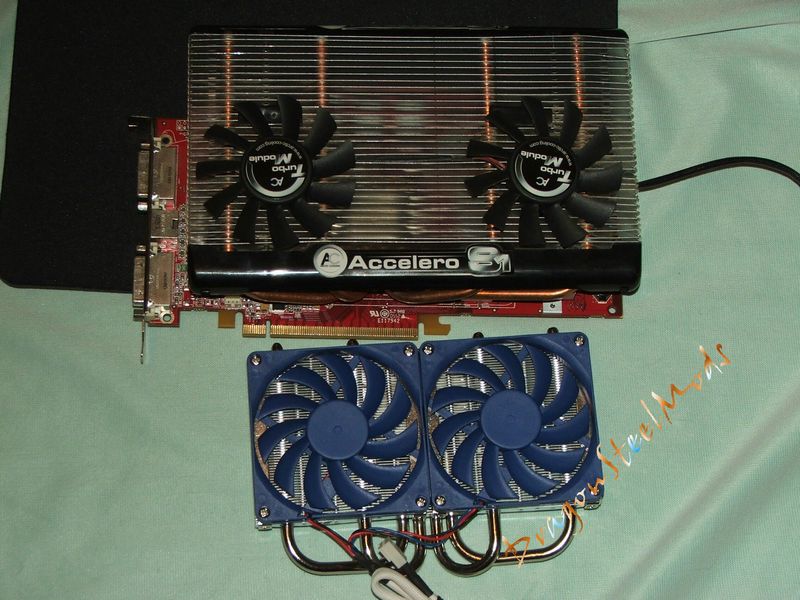
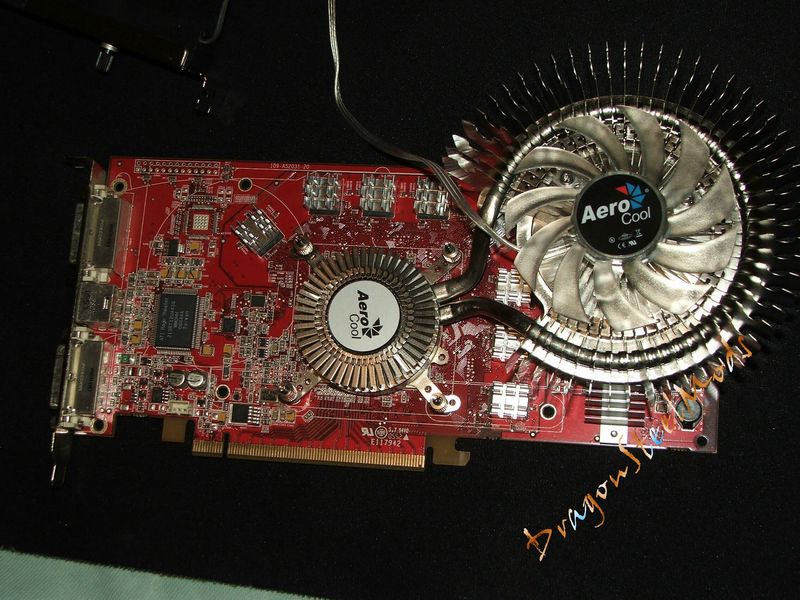
You can see from the pictures that the GFXChilla is small compared to the others, even though the Thermalright V-1 Ultra looks small, it is actually two sided where the heatpipes wrap around to the other side of your card where the heatsink and fan are located, so it’s not as small as it looks from one side. You can also see that the GFXChilla pales in comparison to the massive size of the Arctic Cooling Accelero cooler, and even the Aerocool DoublePower is larger than the GFXChilla.
For testing I used ATITool and Fur Rendering from Ozone3d to get load on the X1800 GTO, to monitor the temperatures I used ATITool and ATI Catalyst Control Center for comparison and they were the same.
Ambient room temperature was 19C (+/- .3C) during all testing.
I found that using Fur Rendering actually got the card hotter that ATITool does, I ran both for 60 minutes at a time and compared the results. This was done everyday for a week and the temperatures were averaged out to get what you see in the following chart.
For comparison I’ve got:
X1800 Stock cooler
Thermalright V-1 Ultra VGA Cooler fan at full speed
Arctic Cooling Accelero with Turbo Fan Module
AeroCool DoublePower VGA Cooler with fan on high
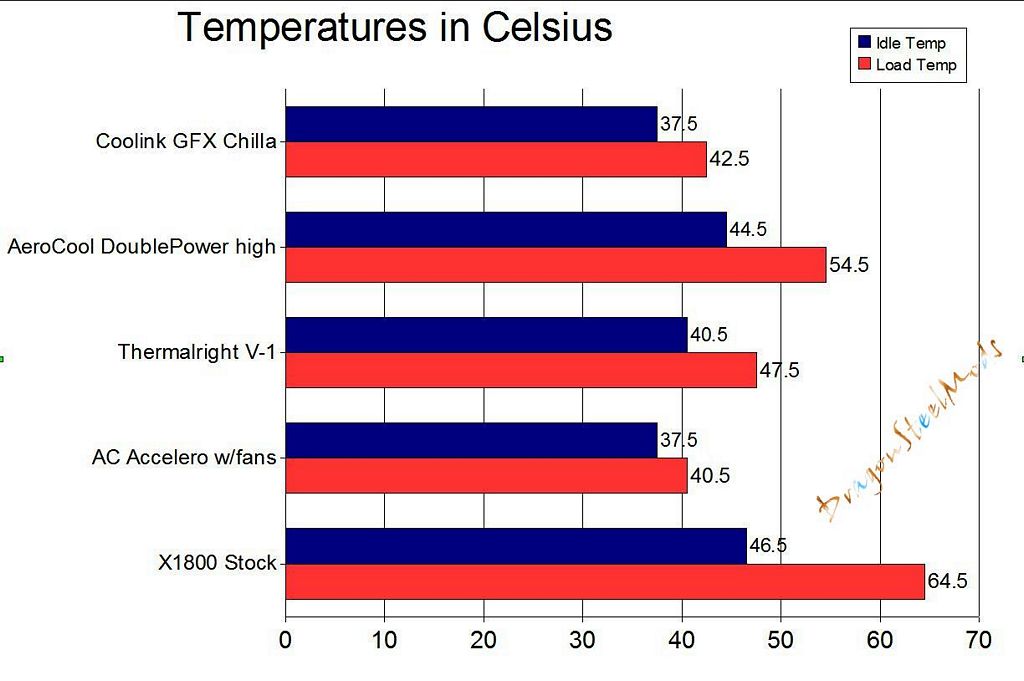
The GFXChilla at load temperature beats the X1800 stock cooler’s temp at idle, very nice. Only the huge Accelero has a better temperature under load, but of course with it’s large surface area it’s hard to beat. I’m sure if I would have taken the Turbo Module off, the GFXChilla would have easily beat it.
Another point might be that I think I could have easily shaved a couple degrees off of the temperature had I used a better thermal compound than the generic stuff that Coolink included with the GFXChilla..
Overall I’m truly impressed with the Coolink GFXChilla, it is almost silent and performs very well.
Ok, let’s move to the next page where I’ve got the installation and testing on my two Nvidia cards…
Installation, Testing and Comparison -Nvidia:
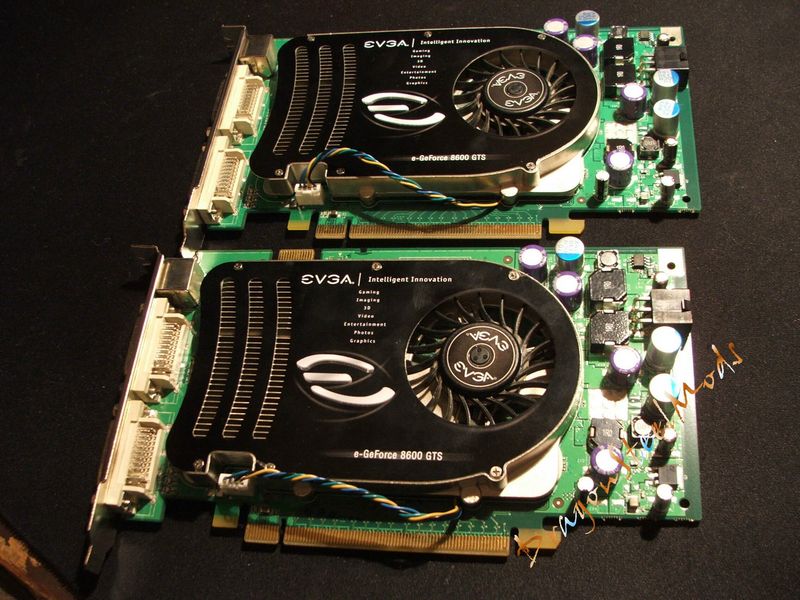
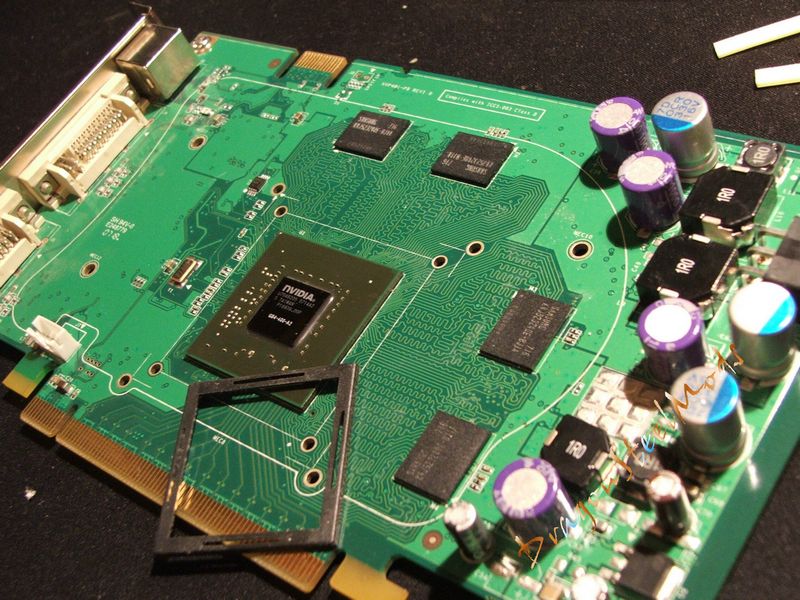
I’ve got two EVGA Nvidia 8600GTS video cards in my main rig, and they are annoying loud when I turn the system on and when they are under load, when I run SLI under load that just get louder yet and I like a quiet system. The stock coolers work to keep the GPU cool enough according to tolerances but under load the fans have to run full speed to keep those cards cool, so I welcome anything that can help me silence and cool my cards.
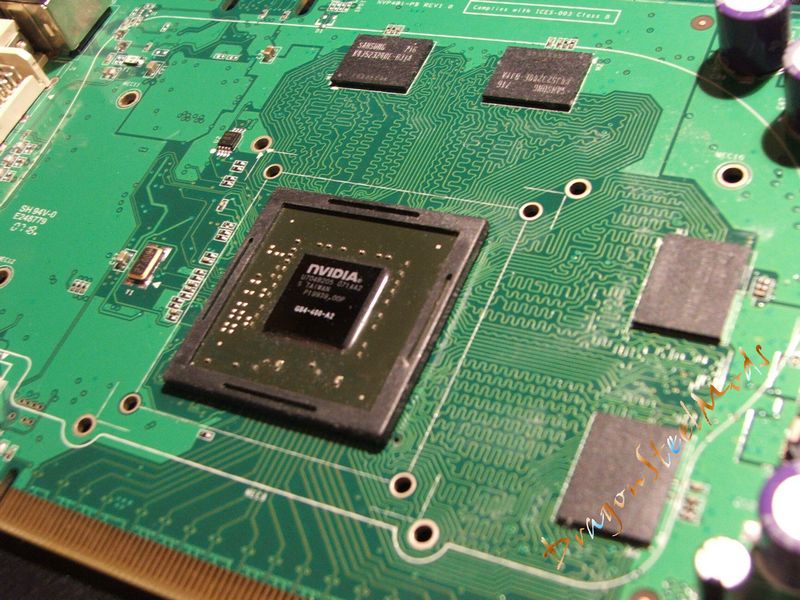
First things first, remove the stock heatsinks. Hmm, we’ve got two sets of holes on this card and a plastic GPU border. The directions don’t mention anything about a plastic bumper, they do about metal and what to do if you don’t have one at all. I opted for keeping it installed and continued my installation using the first set of holes. Installation process was the same as on the X1800.
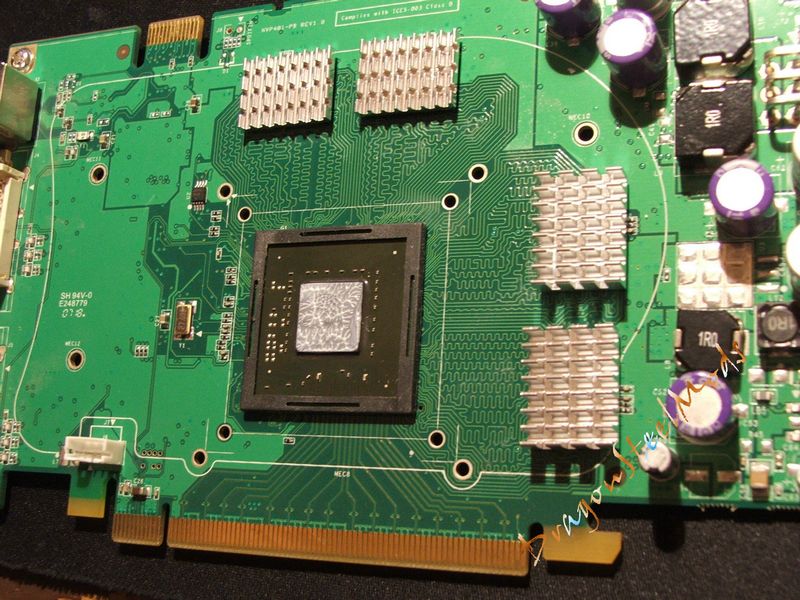

But I had to re-do my installation as using the first set of holes closest to the GPU caused my card to actually warp with too much stress, so I had to change the mounts to use the farther set of holes on my card. So install it again, hrmm, still not quite right though the GPU isn’t centered on the base and the cooler itself wasn’t centered correctly on my card, it was hanging too low on the PCI slot side. So to fix that I had to adjust the brackets on the GFXChilla, slide them down one notch.

Ok, now were set, yes it seems like a lot of work that I did, but I guess I got lucky that the stock configuration of the GFXChilla worked fine with my X1800GTO. Most likely everyone will have to adjust the fit for their specific card, and it’s very easy to do once, if you actually pay attention to the directions…
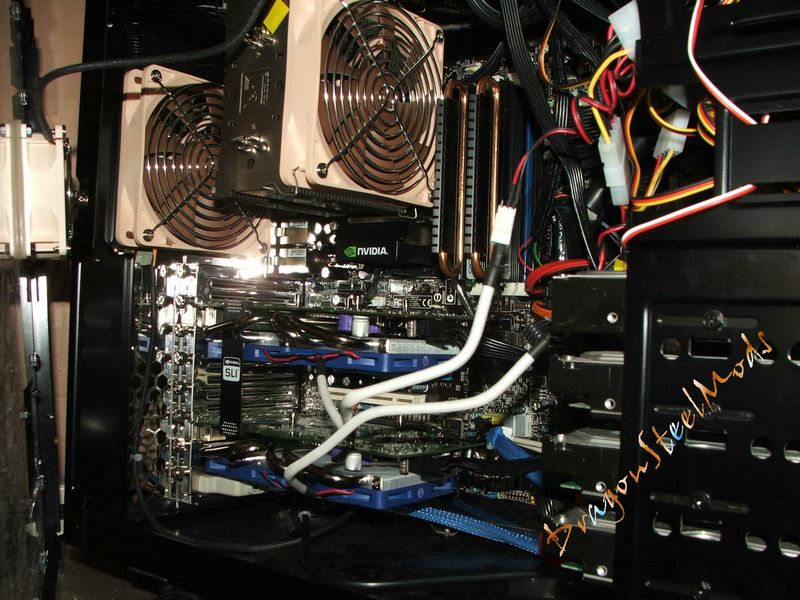
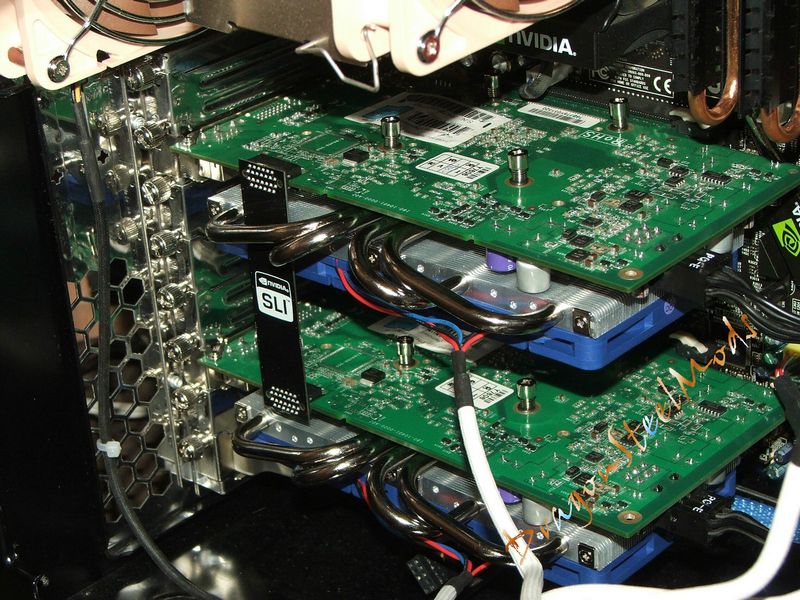
And here are both GFXChillas installed on my cards and in may case, in the last picture you can see where I had to pass my SLI bridge up through and between the heatpipes, not a problem though, there’s a lot of room to do this.

Ok, onto the testing… I used ATITool and Nvidia Monitor to check the temps, they were the same with both. Ambient temperature was the same 19C (+/- .3C) as well.
You’re going to see two charts below, the first is the temps for the cards running individually. The second chart is for the cards running with SLI Enabled.
For the single cards I used ATITool and Fur Rendering to get load on the main card or Card #1 in the chart. I found that Fur Rendering running the stability test got the temps a little bit higher actually than ATITool did.
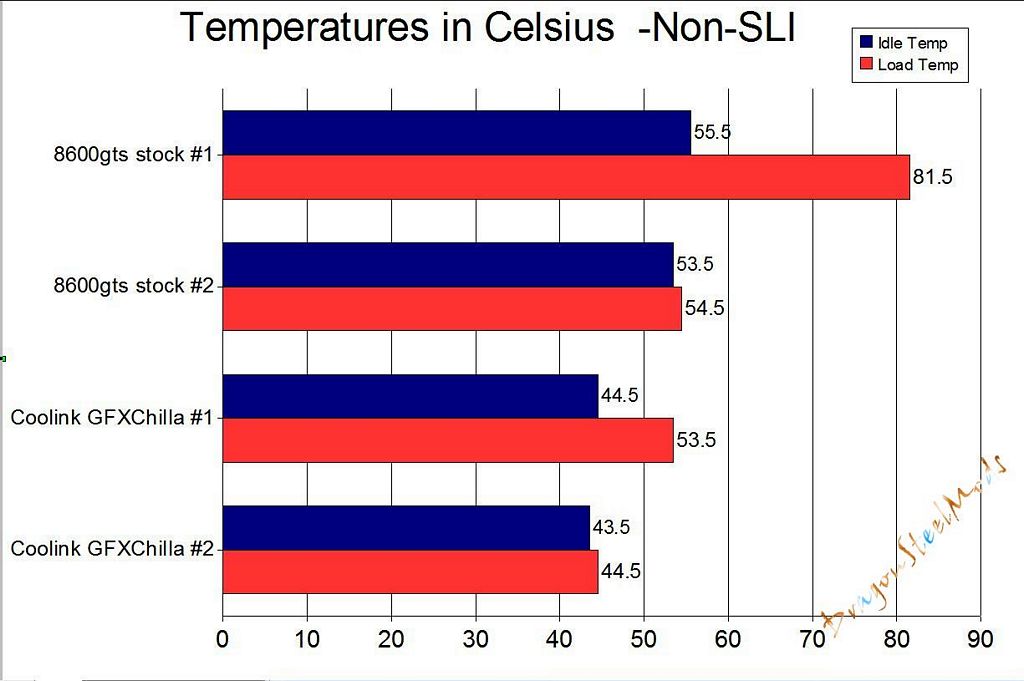
As a side note I actually had put Arctic Silver MX-2 thermal compound on my 8600GTS video cards with their stock coolers, so the actual stock temps might be a little bit higher than these are shown here.
You can easily see a large improvement over the stock cooling at load, and even a nice drop at idle as well. We can see a 28 degree drop at load while using the GFXChilla for card #1.
There is a huge difference as well with the noise level, the GFXChilla added virtually no extra noise to my system.
For running under SLI I found that neither Fur or ATITool would stress both cards, so I tried using 3dmark06 with temperature logging enabled in Nvidia Monitor and the temps didn’t seem to high with 3dMark06 so I used the built in stability test of the Nvidia Control Panel set to GPU only. Using the Nvidia Stability Test caused the temps of both cards to shoot right up, so I found a good test for stressing cards in SLI.
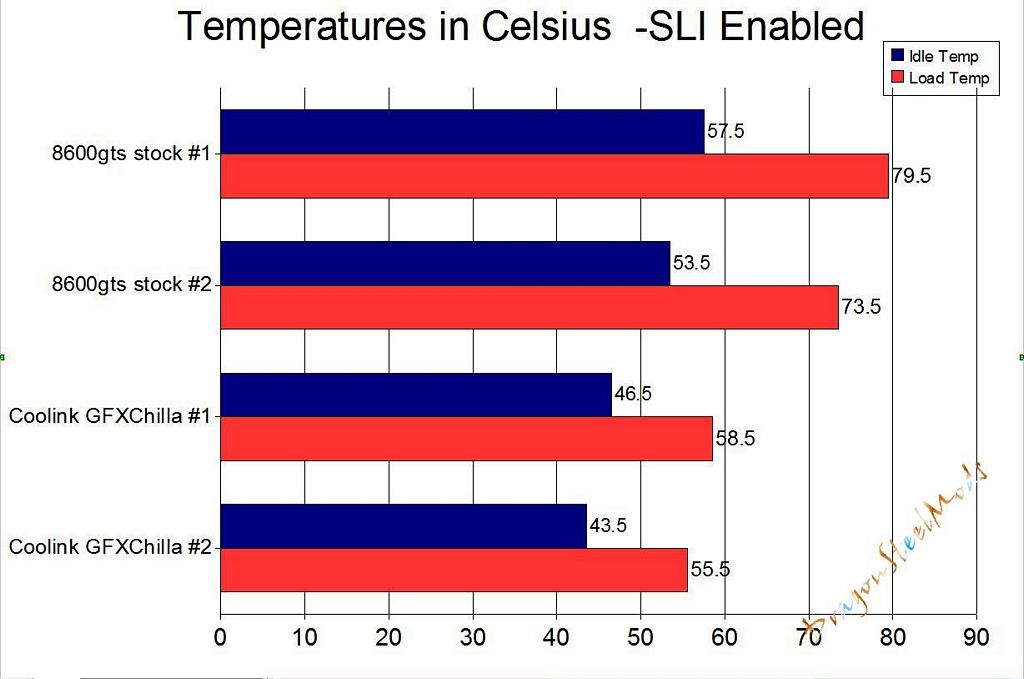
Here we see the load temps a little bit lower with SLI enabled as they are sharing the load, this is to be expected of course. We also see an a very nice 20+ degree drop under load for card #1.
I’ve run all these tests over and over again to verify the results, the GFXChilla is just an excellent VGA cooler overall.
The case I’m using is an Ultra M998, I recently swapped the 120mm fans out for Noctuas and added a Noctua 80mm to the side, and my Q6660 is being cooled by the new Noctua NHU-12P that I reviewed not long ago.
I have a nice and quiet system now thanks to the addition of the GFXChilla VGA Coolers, that was the only part of my system that was loud. My hard drives, when they are accessing, are actually the loudest part of my system now.
-and just to clarify a bit, I was not ragging on the Accelero at all, though it may have seemed like that, it really is a great cooler as well, but just really big…
Summary:
The Coolink GFXChilla is just simply amazing in its ability to cool your video card, seeing that it is such a small cooler I really was not expecting that much of a drop in temperatures.
I ran the same tests over and over again just to make sure the results were correct, and I got the same results each time.
If you’re looking for a silent, high performance cooling solution that can even be used with an SLI configuration than look no further than the Coolink GFXChilla. I am truly impressed at what such a small cooler can achieve, it just goes to show what good design can do.
I can easily recommend these VGA Coolers and they will be staying attached to my 8600GTS video cards for some time to come, now I just need to get a third one to cover my X1800GTO…
DragonSteelMods gives the Coolink GFXChilla a 5 out of 5 score and our Editor’s Choice Award as well.


Pros:
-Quiet
-Fairly easy to install
-Excellent performance
-Small size
-Wide compatibility with video cards
-Works with SLI
-Lightweight
-Low cost
-Lots of extra parts included
-Well made
-Looks cool!
Cons:
-Instructions could be better, more detailed
I would like to thank Coolink for the chance to review the GFXChilla and for their continued support of DSM.
Discuss, Questions HERE
review# 399