Installation, Testing and Comparison
The NH-L9i isn’t made for overclocking, its size should tell you that, it’s small and compact, not exactly something made to cool and overclocked CPU. This isn’t a bad thing as it’s not made or designed to be used in that way, it’s made specifically for small computers like small form factor or a home theater PC where size is an issue and where noise levels might be a concern.
Personally I don’t have any SFF style computers and my HTPC is a Giada A51 which is tiny and thinner than the LH-9i is, so it wouldn’t work there. The cooler is able to cool standard CPUs, so I’m using it with my Intel Core i7 2600K for testing.
I’m a Noctua fan, I think all of my regular sized computers now have Noctua coolers in them and I’ve been using the NH-U12P SE2 with my Corei7 for quite a while now so I figured it would make for a good comparison. I was thinking of it like a David vs Goliath sort of thing going on to see how a tiny cooler like the NH-L9i would compare to the rather large NH-U12P.
Here’s the NH-U12P in my system and I should note it’s not using the stock fan, I use the newer NF-F12 120mm fan.
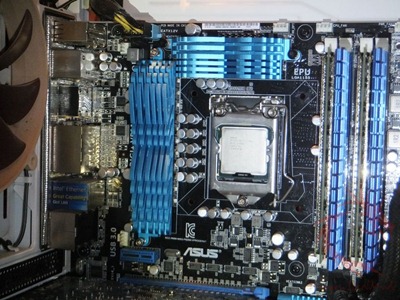
My motherboard is the ASUS P8Z68-V PRO GEN3 and it’s extremely cramped around the CPU socket. I’ve run into many issue with trying to install coolers on this particular motherboard.
I found installing the NH-L9i to be a bit tricky as it just wouldn’t line up right for me and I figured out what the problem was, the small tops of the heat pipes where pushing against the top chipset heat sink. When I dry-fitted the cooler it seems like it would fit fine, but actually installing it wouldn’t work for me and this motherboard. I found I had the same issue on the left side where the other chipset heat sink is, so I ended up installing it with the heat pipe tops towards the ram slots and then I could install it as it lined up correctly in that orientation.
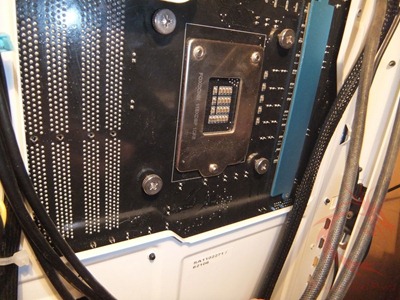
Once I figured out which way to install the cooler, that actual installation was easy, you just have to hold the cooler in place with one hand and use the four thumbscrews provided to secure it to the motherboard with the other hand.
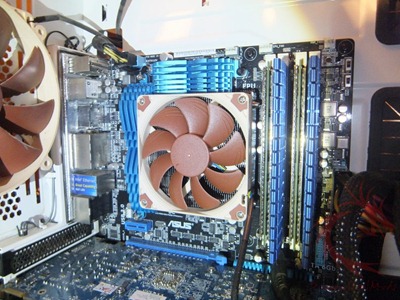
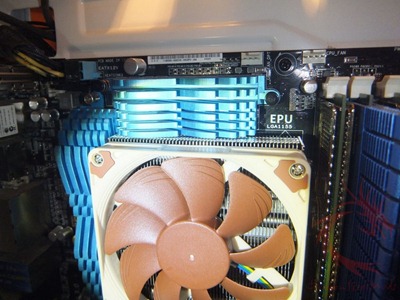
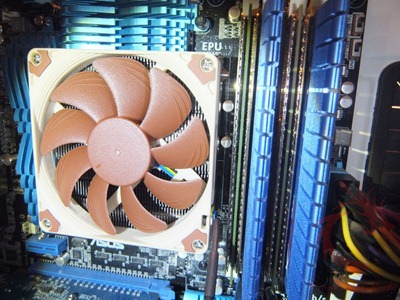
So here it is installed, it looks like it just fits!
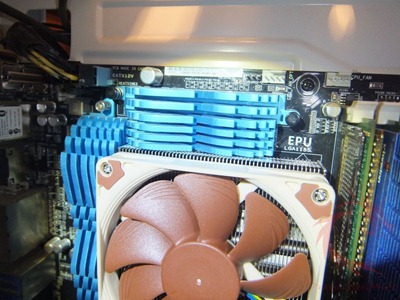
Turns out there is about 1mm of clearance between the top heat sink and the NH-L9i.
On the left side there is slightly more room, but not much…
On the right side where the ram slots are, there’s plenty of room.
So yes, installing this cooler in my system was a very tight fit, and a bit tricky, but it got installed with no real problems. The issues with my installation arose from the motherboard itself and not any fault of the actual cooler. I mentioned I’ve had installation issues before with this motherboard so these came as no surprise to me.
On to the testing part of this review.
Ambient room temperature during testing was 21.6C (+/- .2c).
I used two instances of Orthos Stress Prime to get full load on the quad core Core i7 2600K.
You have to remember these are what I would call extreme tests, I don’t know many people that run their CPUs at 100% load for any period of time or if ever for that matter. I’m sure the average person will never run their CPU at 100% no matter what they’re doing. In an HTPC chances are you won’t be running the CPU at 100%, or even in an SFF case setup either.
I used the latest version of Coretemp to monitor and log the temperatures, which I then averaged out to get a single temperature to use for the comparison chart below.
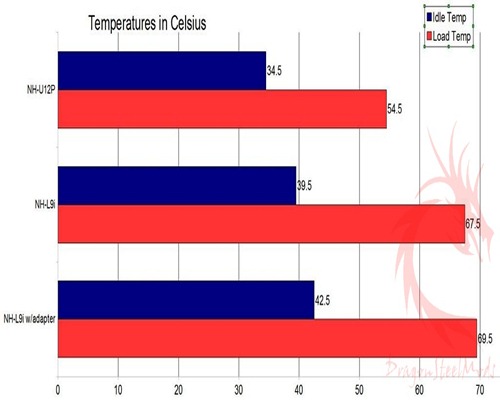
I should note I ran two separate tests with the NH-L9i. It came with a low noise adapter, so I used it as well. In the chart below you’ll see two results for the NH-L9i, the one labeled ‘w/adapter’ is of course the test result using the low noise adapter and the fan running at a slower speed.
So there’s the test results, using the fan at stock speed results in about five degrees higher at idle, which considering the size difference isn’t that bad.
At load we see about a 13 degree increase in the temperatures and, again, considering the size difference that’s pretty good. The NH-L9i is tiny in comparison to the NH-U12P and only 13 degrees difference is rather surprising.
The Noctua NH-U12P is 158mm high and 126mm wide and 71mm deep while the NH-L9i is 23mm without the fan or 37mm with the fan and 95mm by 95mm width and depth. The NH-U12P is a little more than four times larger than the NH-L9i and that’s with the fan, without the fan it’s almost seven times higher. That 13 degrees doesn’t seem like that much when you take the size into account really.
When lowering the speed of the fan using the adapter, as expected, the temperatures do increase but it’s only by about two or three degrees. So lowering the speed lowers the noise level which in some instances that would be a desired effect, like an HTPC. The lowered speed doesn’t increase the temperature by much, so if you can sacrifice a couple degrees you can have a quieter system.
As far as noise levels, the cooler or the fan is quiet but I didn’t notice any real difference in sound levels when using the adapter as opposed to not using it. I do have many fans in my system, both 120mm and 140mm, so they sort of drowned everything else out. The NH-L9i added no more noise to the system, that much I can tell you for sure.


