Admin Interface
You’ll then be taken to the main menu or control panel which is actually the first choice or System Status where you’ll find a menu on the left side with several choices for System Status, General Setup, Email Setup, Admin Password, Firmware Update, Advanced, SMART Manager, UPS Manager, Backup Client License and Shut Down / Reboot.
Across the top of the main screen are more menu choices for System, Network, Storage, Access and Media. System is the same as the first screen of course.
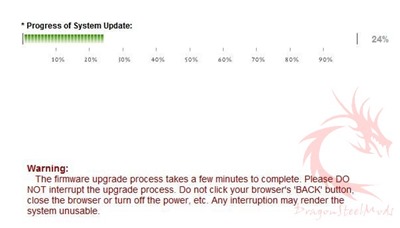
The first thing I did and that anyone should do is check the firmware and update it if need be.
We’ll take a look at some, but not every single option of the menus.
The first one is Network where you can configure how the NAS 220 works on your network, you’ll find choices for LAN, Services, Workgroup, Dynamic DNS and Printer Manager.
The next choice is storage which seems self explanatory but there’s a lot here with choices for Disk manager, Volumes, Shares, USB Shares, Quota, Download management, Backup manager and Recycle-Bin Manager.
Next up is Access with choices for Users, Groups, Folder Shares, and Permission. All of the menus, not just Access, have sub-menus with even more options in them.
Global Access is Seagate’s very own service so you can access the NAS 220 from anywhere in the world via their website. We’ll cover that more in-depth later.
Folder permission are self-explanatory I think.
So there are plenty of things to configure in the NAS 220, this can be daunting for the average consumer I think, or those with limited knowledge, it’s certainly not a NAS for the beginner.


